
It’s always a great idea to try and contour your face in order to enhance your look. However, it can be tricky to contour your face properly and without issues. That’s why I am here to help with some creative, engaging and helpful contouring tips. Here’s what you need to know about contouring, along with the right tips to help you get started.
Why is contouring a great idea?
Contouring is one of the most interesting makeup techniques that you can try. The main focus is to try and manipulate shadow and light in order to define and enhance your look as a whole. Generally, you want to work with darker shades and apply them to receding areas. You can use lighter shades to protruding areas, including brow bones and cheekbones. Not only that, but if you start contouring your face, you will make it look slimmer, as well as symmetrical. It’s also a nice approach if you’re looking to add some dimension and depth.
Should you contour after applying foundation?
Based on our experience, you can either contour your face either before or after you apply your foundation. It’s always up to you, although the general practice is to try and apply foundation first. As you do that, you get to create a very good base upon which you can start contouring. I also like the idea of adding foundation first because it gives a bold and sculpted look.
Sometimes, the contouring makeup can end up diffused within the foundation. That’s something you can avoid if you have your foundation applied first. In case you still want to contour your face first, you can use a system called underpainting. You apply your contour and then your blush, and after that you blend the foundation. Even if the result is not as impressive, it does provide a natural look, which a lot of people are looking for.
What items do you need to contour your face?
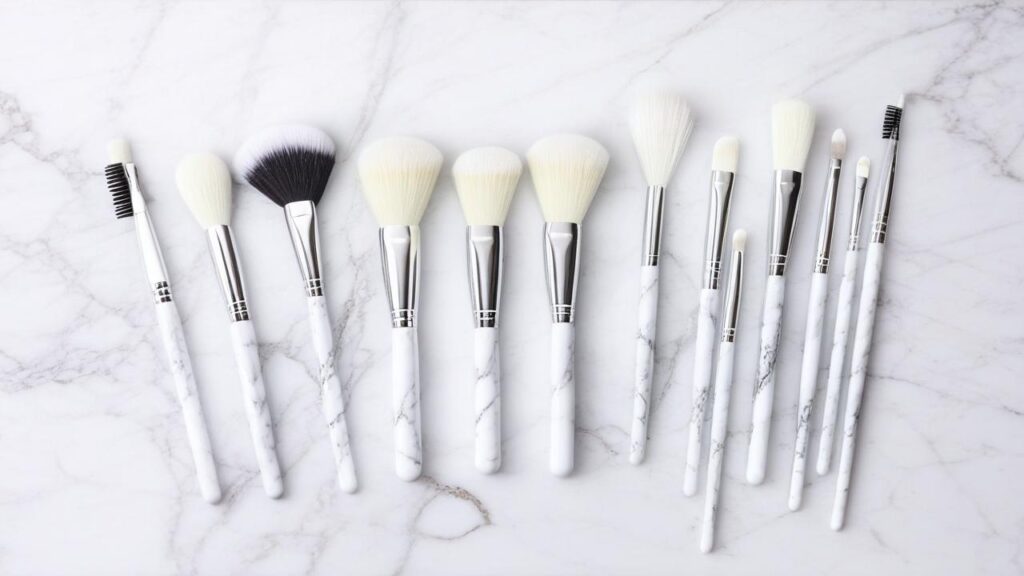
The great thing about contouring is that it’s not very difficult to do. You will need some items, but it’s nothing too complex. In fact, you can use 2 concealer shades, bronzer or foundation. Some even use brow powder or eyeshadow to contour. The trick is to always try to use makeup products that have the same texture. Aside from that, you should have a few makeup brushes that fit the contouring products you want to use.
How can you start contouring your face?
The main goal when contouring my face is to try and enhance the natural shape of the face. I want to make it feel more appealing, while still retaining that unique, natural look as well. Here are the most common steps that you want to go through!
Preparing your face
The first thing you want to do is to wash your face and then you can apply some moisturizer. The idea here is to avoid clumped makeup on your face. You can also use primer if you want, although it’s optional. It does have its benefits, since it helps create a buffer between the skincare products and the makeup items you want to use. After using primer, you can add a bit of concealer or foundation, although make sure the shades you use match your skin tone.
Shadow
Now that you prepared your face, you will need to take darker shades and use those in order to create a shadowy look under the cheekbones. Your facial shape might require you to focus on different lines. In some cases, a 3 shape that follows the jawline, under cheekbone and hairline can be a good idea. Or you can start creating an upside down triangle that frames your cheeks. However, this is not mandatory. You can experiment and try out different shadow lines to see what works for you.
Highlighting
The third step requires you to highlight certain areas. The main focus is to apply lighter shade to those areas that are known for reflecting natural light. These can be around the brow bone and eyes, but also at the top of cheekbones, the tip/bridge of your nose and also your forehead. A good rule of thumb is to always use concealer that’s a bit lighter when compared to the skin tone. If you want, a shimmery eyeshadow, illuminator or highlighter will work too.
Blush
When you apply blush, you want to do that to the apples of your cheeks. Remember this is an optional step, not a mandatory one. However, I feel it does help if you want to have a natural look. If you use this approach, it will be a bridge between your highlight and shadow areas. I think using a little bit of blush is always helpful when you are contouring your face.
Blend
Your skin tone is unique, and most of the time the shades you use won’t be identical to it. Yes, they are similar, but you still need to go through a few things in order to obtain the best results. That’s where I think blending can be a very good idea. A large blending brush or even a makeup sponge can be a great item to have. That will help blend the shadows and highlights. You want to do this because it will make your look a lot more natural.
Finalizing your contour
As you finish the contouring process, a great rule of thumb is to apply setting powder. Some women use spray for this process, which is another good option to take into consideration. In addition, it does help you make the entire look feel more natural. Just like the other processes, you want to avoid using too much spray or powder. It will change your look and shift it away from that natural appeal you want to have.
Other things to keep in mind
I have a few more tips to help you with the facial contouring process. One of them is to keep a matte finish. That’s what gives you a natural result, and it’s definitely one of those ideas that work extremely well. Bronzer works great for contouring too, the only thing here is to not have any shimmer.
I also think it’s a good idea to always consider undertones too. If you end up using tones that are very bright, then you can end up with some issues as the contour will not look right. Always stick with a contouring product that has a color and texture very similar to your skin.
Conclusion
I know how difficult it can be to contour your face and make it look very natural. It requires a lot of trial and error, yet I think these tips and ideas shown above can be very handy. It never hurts to experiment with different contouring products and see what works for you. Once I contour my face, I always try to complete the look with lipstick, mascara or even some additional makeup. The truth is that you have no limit in regards to how you wear the contour, so I always try to customize it and make it feel more interesting and stylish!



I was pretty pleased to find this web site. I wanted to thank you for your
time for this fantastic read!! I definitely savored every little bit of it and I have you saved as
a favorite to check out new information on your website.
Everyone loves what you guys are up too. This kind of clever work and exposure!
Keep up the terrific works guys I’ve added you guys to my blogroll.
Hmm is anyone else having problems with the pictures on this blog
loading? I’m trying to determine if its a problem on my end or
if it’s the blog. Any feedback would be greatly appreciated.
Vor allem, wenn man sehe, dass der Topf prall mit Wurzeln gefüllt sei.
Daher müssten die Weihnachtsbäume regelmäßig in größere Kübel umgetopft werden –
so lange das bei ihrem Wachstum geht. Eine Alternative zum Kauf ist das
Mieten von Weihnachtsbäumen im Topf. Auch darum ist ihre Verwendung als
Weihnachtsbaum endlich. Es handelt sich dabei meist um lokale Angebote ohne lange
Transportwege. Wer online kein regionales Angebot findet, kann in nahe gelegenen Gärtnereien nachfragen. Zu finden sind sie oft in größeren Städten. Und dass man zum Beispiel die Spitze des
Baumes für den Schmuck nicht kappt und keine echten Kerzen oder Kunstschnee anbringt.
Bei Niels Reinke ist außerdem Lametta tabu, da die Bäume beim Entfernen dieser
Deko oft Beschädigt werden. „Wenn wir etwa sehen, dass grobfahrlässig nicht gegossen wurde, dann muss der
Mietkunde den kompletten Verkaufspreis des Baumes bezahlen”,
sagt Reinke. Wichtig zu wissen: Die Nachhaltigkeit
kostet. Die Mietbäume können teurer als ein abgesägter Baum
sein. Zu den Angebotsbedingungen gehört, dass der Baum gut gegossen wird.
Denn ihre Produktion im Topf und ihre Pflege sind aufwendiger als die eines Baumes, der abgesägt
in den Handel kommt. Ein grober deutschlandweiter Überblick zeigt: Eine Blaufichte von rund 1,50 Meter Höhe kostet 60 bis 80 Euro Miete, eine Nordmanntanne
30 bis 85 Euro.
I was able to find good information from your blog articles.
Hello my friend! I want to say that this article is awesome, nice written and come with approximately all significant infos.
I would like to see extra posts like this .
When some one searches for his essential thing, thus he/she
needs to be available that in detail, therefore that thing is maintained over here.
I am really happy to read this webpage posts which contains plenty of valuable data, thanks for providing such information.
Wonderful blog! Do you have any helpful hints for aspiring writers?
I’m planning to start my own website soon but I’m a little lost on everything.
Would you propose starting with a free platform like WordPress or go for
a paid option? There are so many choices out there that I’m totally overwhelmed ..
Any tips? Cheers!
Nice post. I was checking constantly this blog and
I am impressed! Extremely useful information particularly the last part 🙂 I
care for such information a lot. I was looking for this certain information for a
long time. Thank you and good luck.
Thanks for the marvelous posting! I truly enjoyed reading it, you
might be a great author.I will make sure to bookmark your blog and will eventually
come back in the future. I want to encourage you to definitely continue
your great writing, have a nice weekend!
Hi there to every body, it’s my first visit of this
website; this blog consists of remarkable and truly good material for visitors.
In diesem Land erhalten Sie die wichtigsten Informationen zu LED-Deckenleuchten mit Bewegungsmelder
und worauf man unbedingt achten sollte, bevor man sich LED-Deckenleuchten mit Bewegungsmelder anschafft.
Meist suchen Leute auch nach dem LED-Deckenleuchte mit Bewegungsmelder
Testsieger. Zuerst präsentieren wir Ihnen die meistverkauftesten Produkte bei Amazon, – übersichtlich
dargestellt. Wegen dem finden Sie auf unserer Seite weiterführende Links wie z.
B. zum Öko-Test oder zur Stiftung Warentest. 【Intelligenter Radarsensor】 Die Standardempfindlichkeit beträgt 100% (Erfassungsbereich:
8 m). 【Hocheffizienter Bewegungsmelder】 Erfassungswinkel:
360 °, Erfassungsbereich: 0,1-8 m, Abstrahlwinkel:
120 °. ✞【Superhell & Energiesparend】: Die 18W LED Sensor Deckenleuchte mit höchster Effizienz von 100LM/W entsprechen einer herkömmlichen 150W Glübirne.
【Einfach zu installieren】 Keine Sorge circa Installation, die einfach und
unkompliziert durchgeführt werden kann. ✞【Einfache Installation】: Die einzigartige Installationsmethode dieser LED Sensorleuchte brauchen Sie keine Hilfe vom
Elektriker. Schutzart IP54 wasserdicht: Optimale LED Deckenleuchte für die Wand- und Deckenmontage in Dielen,
Fluren, Treppenhäusern oder Bädern. Einfache
Installation: Die einzigartige Installationsmethode dieser LED Lampe brauchen Sie keine Hilfe vom Elektriker.
Howdy! This is my first visit to your blog! We are a group of
volunteers and starting a new initiative in a community in the same niche.
Your blog provided us useful information to work on. You have done a outstanding job!
I couldn’t refrain from commenting. Exceptionally well written!
I am genuinely thankful to the owner of this web page who has shared this great piece
of writing at at this time.
My partner and I stumbled over here different web page and thought I should check things out.
I like what I see so now i’m following you.
Look forward to going over your web page again.
You’re so cool! I don’t believe I’ve read through something like that before.
So nice to find somebody with original thoughts on this subject.
Seriously.. many thanks for starting this up. This site is
something that’s needed on the internet, someone with a bit of originality!
I am curious to find out what blog platform you happen to be utilizing?
I’m having some minor security problems with my latest blog and I would like
to find something more risk-free. Do you have any suggestions?
230-V-Netz dienen lediglich der Veranschaulichung des jeweiligen Schaltschemas.
Bitte bedenken Sie, dass Arbeiten und Installationen an der Stromversorgung
ausschließlich dafür ausgebildeten Fachkräften vorgenommen werden sollten. Bei In der Mache haben der Elektroinstallation ist zudem immer sicherzustellen, dass die Sicherung ausgeschaltet oder herausgedreht wurde.
Außerdem können in Bestandsgebäuden nicht den Vorschriften entsprechende Elektroinstallationen (Farbe der Leitungen, Verlegung der Leitungen usw.)
vorkommen. Zudem muss die Belegung der Leitungen eindeutig definiert werden können. Zunächst an der Zeit sein, die Anschlussmöglichkeiten an einem Bewegungsmelder richtig zu
interpretieren. Auch am späteren Verbraucher sind diese drei Anschlussmöglichkeiten gegeben: L, N und PE.
Ansonsten können auch Lichtschalter in die Schaltung des
Bewegungsmelders integriert werden. Wie Sie einen Bewegungsmelder
zum Ausschalten schalten, zeigen wir im verlinkten Beitrag ausführlich.
Auch die Schaltung des Bewegungsmelders bzw. des Verbrauchers auf Dauerstrom
zeigen wir hier ausführlich. Diesfalls wird L vor dem Bewegungsmelder ebenfalls
durch einen Wippschalter geführt, dann aber zusätzlich direkt
mit L des Verbrauchers verklemmt. Kurz umrissen: Vorm Bewegungsmelder wird L zusätzlich durch einen Wippschalter geführt und dann weiter zu L bzw.
L2 am Bewegungsmelder. Eine weitere Möglichkeit ist es, eine Schaltung für mehrere Bewegungsmelder
anzulegen. Natürlich können Sie die Schaltung eh vornehmen, dass Sie den Bewegungsmelder komplett ausschalten und den Verbraucher dennoch auf Dauerstrom
schalten können. Dazu können Sie die Bewegungsmelder aufgereiht schalten. Beachten Sie bei dieser
Schaltung jedoch, dass sich die Schaltzeiten beider Bewegungsmelder addieren können, wenn Bewegungen innerhalb beider Überwachungsbereiche erfolgen.